Followers

Monday 11 September 2017

A LITTLE SCENERY & CARD WINNER

Hello and welcome...
gloss card stock was used on today's offering

I created the sky, with clouds and grass area using distress inks then stamped the trees and leaves hanging from the branches, finishing with red dots for berries/blossom

Two black lines were drawn to represent wires and I drew the birds sitting on the wires (there's a Mel Gibson film in that statement lol)

I layered the finished piece onto white, then green card and a final 5"x7" white card base


Random.org Number Picker was used to pick Saturday's winner
and it has chosen.... number 4

Angie!
please email your postal details to:

and your card will be posted to you

Until tomorrow....
Thank you for taking the time to visit, I hope my designs have given a little inspiration.
I read all your comments and really appreciate you leaving me a message.
June x

Sunday 10 September 2017

SENDING YOU SMILES

Hello and welcome...
I promise this will be the last you'll see of this embossing folder for a long while! LOL.  In 'the hand' the deep embossing is very visible

I started with an A4 white card base and scored it in half to give me an A5

I cut a smaller panel in black card and adhered it to the base

A further panel, in white card, was cut to measure the same size as the embossing folder, 5"x7" and embossed then adhered to the base card

Using a John Lockwood stamp, from one of his older sets, I stamped the sentiment 'Sending You Smiles' with a Versafine Onyx Black Ink Pad, directly onto the banner section towards the bottom of the card

I used a dark greyish paper for the inside of the card and stamped a few elements from the same stamp set by John using a white ink pad
Thank you for taking the time to visit, I hope my designs have given a little inspiration. I read all your comments and really appreciate you leaving me a message.
June x
INGREDIENTS:
  • white card stock ~ Papermill Direct
  • black foundation card ~ Creative Expressions (CE)
  • Delightful Daisies Embossing Folder ~ Spellbinders
  • sentiment ~ John Lockwood aka John Next Door
  • Picket Fence (white) ink pad ~ Ranger
  • Platinum machine ~ Spellbinders

Saturday 9 September 2017

SATURDAY SPECIAL CARD GIVE-AWAY.... WITH LOVE

Hello and welcome...
We have an oval red and ivory card for today's 'freebie'
I die cut an oval on red card and die cut a smaller panel on ivory card.  The centre piece,  'heart decoration' stamp was stamped with VersaMark then sprinkled with cardinal red embossing powder over it and heat embossed
I coloured the berries and both hearts with lava red Pixie Powder and the leaves with peacock green Pixie Powder
I did second generation stamping around the ivory border using an old unnamed swirl stamp and a slate ink pad
The sentiment is from a freebie set and I cut away the wording underneath the 'with love' prior to stamping it using, again, the slate ink pad
I adhered the decorated ivory panel to my card base and die cut a piece of ivory card stock using 2 oval dies to give me a border to go around the oval
I added a string of pearls around the outer edge of the card and to complete gold sequins were randomly adhered to the centre panel and the larger heart was covered with glossy accents

If you would like to give this card a new home all you need to do is leave a comment on this post.  The winner will be drawn, at random, on Monday and announced on this blog later that day.  You have until 9.30am Monday morning to comment and please note that it doesn't matter if you have won previously, the winner is picked using Random.org Name/Number Picker nor does it matter where you live as we ship globally

INGREDIENTS:
  • ruby red and ivory foundation card ~ Creative Expressions (CE)
  • pearls ~ CE
  • gold sequins ~ my stash
  • double pierced oval die set ~ CE
  • slate ink pad ~ Adirondack
  • VersaMark watermark stamp pad ~ Tsukineko
  • heart decoration stamp ~ clarity
  • cardinal red embossing powder ~ WOW
  • lava red Pixie Powder ~ CE
  • Glossy Accents ~ Ranger
  • Platinum machine ~ Spellbinders
until tomorrow....

Thank you for taking the time to visit, I hope my designs have given a little inspiration.
I read all your comments and really appreciate you leaving me a message.                                              
June x

Friday 8 September 2017

FESTIVE FRIDAY 6

Hello and welcome...
White and silver is the offering today.  I started with an 8" square white card base and cut several panels starting with silver mirri, white card and white card again, on this second panel I pierced around the edges, added mounting foam to the back and adhered to my card base

I then die cut and embossed the Aurora Star die twice on silver mirri then once on white card.  I added a piece of double sided adhesive to the last one and once through the Platinum machine I removed the backing and added glitter jewels to it.  The backing on the other 2 stars were die cut and embossed on white card that I had also added double sided adhesive to.  Once the backing was removed I coated them with Glitter Jewels


Another panel of white card was embossed with the Mistletoe Moments Embossing Folder, then I ran PVA Dries Clear Glue around the edges and sprinkled Glitter Jewels onto the glue

The panel was adhered to my card base and in the middle of each star I added a very large 'dollop' of 3D glue and positioned all 3 stars in place, on the panel, prior to gently pressing them  permanently in  place

I added 3 'crystal twinkle stars' at the top of the card and once the 'Season's Greetings' sentiment had been die cut and coated in glitter jewels I adhered it at the bottom of the card

INGREDIENTS:
  • white card ~ Craft UK
  • extra white card ~ Papermill Direct
  • silver mirri ~ my stash
  • Mistletoe Moments Embossing Folder ~ Crafter's Companion (CC)
  • Aurora Star Die ~ Creative Expressions (CE)
  • Season's Greetings Die ~ Creative Expressions (CE)
  • Glitter Jewels ~ CE
  • 3D Collall Glue ~ CC
  • Crystal Twinkle Stars ~ CE
  • Cosmic Shimmer Dries Clear PVA Glue ~ CE
  • Double sided adhesive sheet ~ Woodware
  • Platinum machine ~ Spellbinders
Until tomorrow when we have our Saturday Special Give-Away Card

Thank you for taking the time to visit, I hope my designs have given a little inspiration.
I read all your comments and really appreciate you leaving me a message.
June x

Thursday 7 September 2017

SUNGLASSES AT THE READY! IF YOU EVER NEED ME

Hello and welcome...
On Monday, and as part of the design team,  I posted a white notelet card for the new challenge at Crafty Cardmakers. That particular card is a white 5" square and I said I'd make another and round the corners

The embossing on the card on the left is showing the whole of that particular embossing folder

I embossed on white card and this time, using ink dusters, I applied distress oxide inks in 3 different colours

The sentiment , part of the freebie stamp set with this month's Making Cards Magazine was stamped using a black ink pad

I matted the panel onto black card then onto a yellow base card that is not as bright or citrus looking as shown on the photograph!

Personally I do think this embossing folder is gorgeous and you may see it again in the not too distant future!

The card on the left is the one posted on Monday, a 5" square, the 'diddy' one on the right is 3.5" square with rounded corners with less of the second embossed panel showing


INGREDIENTS:
  • yellow foundation card ~ Creative Expressions (CE)
  • black foundation card ~ CE
  • white card ~ Papermill Direct
  • Delightful Daisies Embossing Folder ~ Spellbinders
  • Ink Duster (Ink Blending Brush) ~ Inkylicious
  • cracked pistachio, spiced marmalade, worn lipstick Distress Oxide Inks ~ Ranger
  • Versafine Onyx Black ~ Tsukineko
  • Cosmic Shimmer Dries Clear PVA Glue ~ CE
  • Platinum Machine ~ Spellbinders
Until tomorrow....

Thank you for taking the time to visit, I hope my designs have given a little inspiration.
I read all your comments and really appreciate you leaving me a message.
June x

Wednesday 6 September 2017

PEACE

Hello and welcome...
This is another card using the freebies from craft magazines

This month's Die-Cutting Essentials, Issue 28, is a die set by Tonic.  There is a dove, sentiment and olive branch

I've made a basic card with the set for today's post but you will be seeing other designs as times goes on

On a 5"x7" white card I masked a border with easy lift off tape.  I then coloured the exposed area with Distress Oxide Inks applying the colours with a blender.  Once coloured I spritzed, all over the coloured area, with water and dried it using my heat tool  
I added a piece of double sided adhesive to white card and die cut and embossed the dove and the sentiment

After I removed the backing sheet from the die cut I sprinkled Glitter Jewels over both the dove and the sentiment

The olive branch was die cut using a piece of left over green card

I only added glue to certain areas of the dove as I liked how the wings were sitting away from the card.  I adhered the olive branch behind the dove's beak and added a tiny black gem for the eye

I inserted a pretty paper to the inside of the card and used a stamp, from October's Making Cards,
to stamp another sentiment in black ink


INGREDIENTS:
  • white card ~ Craft UK
  • Distress Oxide Inks in; broken china, faded jeans & wilted violet ~ Ranger
  • Versafine Ink Pad in Black Onyx ~ Tsukineko
  • double sided adhesive ~ Woodware
  • Glitter Jewels/Diamond Snow ~ Creative Expressions (CE)
  • Cosmic Shimmer Dries Clear Acrylic Glue ~ CE
  • dove die set ~ Die-cutting essentials Issue 28
  • paper insert ~ Making Cards October 2017
Until tomorrow....

Thank you for taking the time to visit, I hope my designs have given a little inspiration.
I read all your comments and really appreciate you leaving me a message.
June x

Tuesday 5 September 2017

Hello and welcome...


We have two cute cards for you today!  The video to go with these cards is currently 'work in progress' according to Mr F!! LOL

The free gift in this month's Papercraft Essentials Magazine, issue 150, is 3 outline dies and a stamp set.  The stamp set has a good selection, 2 gnomes, toadstool, sign post, Christmas sentiments and a few not Christmas related.  There are several other stamps that make up this really good free gift.  The magazine is filled with card ideas, tips and several competitions

For our cards I have only used a few of the elements in the set.
The card on the left is 11 x 12.5cm.  A top folding notecard.  A smaller green panel then a smaller white panel were also cut and on the top panel I used a punch on the top corners only

I used my MISTI to stamp the toadstool and sentiment, using a Versafine Onyx Black Ink Pad, I use only this ink pad for both cards

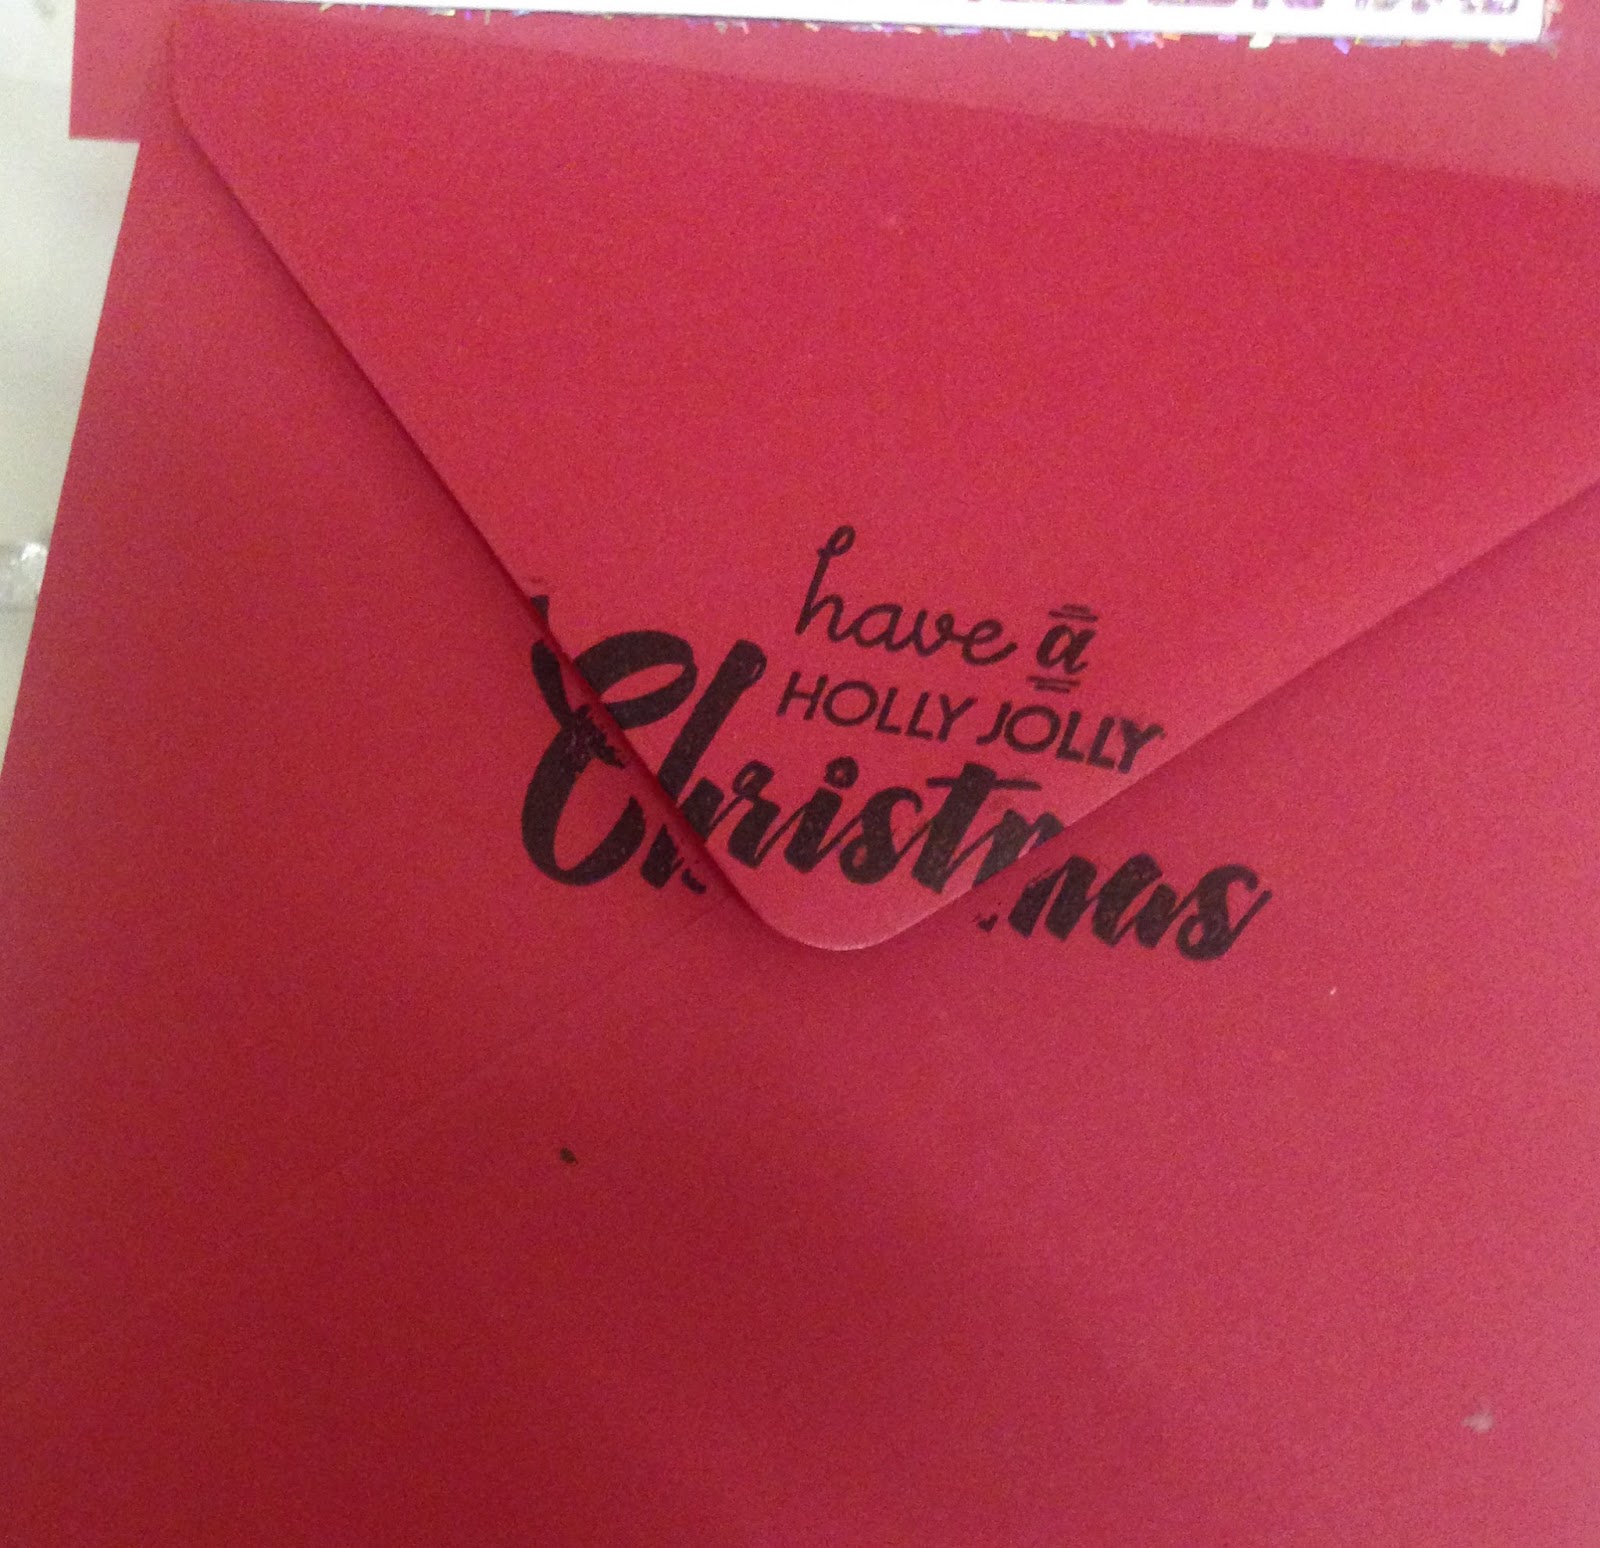
I stamped the gnome, wearing the plain hat, on the inside of the card as well as on the envelope and added the same sentiment on the card onto the envelope, as shown on the right

I used ProMarkers to colour the image on the front of the card.
The grass area was embossed as I wanted texture there (any embossing folder would do as it's such a small area) and I added Glossy Accents to both windows for a faux glass affect.
I drew the birds on the roof and flying away as I, accidentally, coloured outside the image (I've had major problems with dexterity this past week)

For the second card, a DL size, 20.5 x 10cms, I used a smoothie that already had blue ink on it and created a few clouds along the card and added the blue down the sides.  A ribbon punch was used along the bottom edge and green satin ribbon was slotted through the openings and secured at the back

I stamped the plain hatted gnome onto the card and then the patterned hatted gnome either side of the middle one.
On my splodge away mat (a marvellous tool to have, the inks last forever!) I spritzed a few colours with water, picked up the colour with a brush and painted the hats.
The noses were coloured with a red ProMarker and the shoes coloured black then I covered these areas with Glossy Accents

I used white flock for the beards, the beard area was coated with a cheap PVA glue and the flock sprinkled onto of it.  You can dry this on a very low heat on your heat gun or leave it overnight to dry

I stamped both the sentiment and the gift box on white card and die cut both.  Powder Blue ProMarker was used to colour the edge of the sentiment and the gift box, royal blue for the bow and berry red for the mittens

INGREDIENTS:
  • white card stock ~ Papermill Direct
  • green card stock ~ my stash
  • stamps and dies ~ CraftStash
  • ribbon punch ~ Martha Stewart
  • corner punch ~ Woodware
  • smoothie ~ Creative Expressions
  • splodge away mat ~ Clarity Stamps
  • green satin ribbon ~ my stash
  • white flock ~ WOW
  • Glossy Accents ~ Ranger
  • Royal Blue/Powder Blue/Cardinal Red/Berry Red/Grass/Yellow/Tan and Ivory ProMarkers ~ Letraset Limited
  • white flock ~ WOW
Until tomorrow....

Thank you for taking the time to visit , I hope my designs have given a little inspiration.
 I read all your comments and really appreciate you leaving me a message.
June x


Monday 4 September 2017

Hello and welcome....

A new challenge begins today at Crafty Cardmakers Blog.
Jackie is our host and the theme is 'Monochrome'.  We would like to see your monochromatic creations, these do not have to be black and white.  Anything with hues of just one colour is fine.  We will, of course, be ok with hair and skin colours as well, but your major colour scheme should only have one colour in it.
As usual anything you care to enter is fine, a card, scrap layout, mixed media piece, some home décor, as long as it's monochromatic.
Please remember our 15 total challenge rule!
If you click on the link below it will take you directly to the blog and you will see what the design team have created.
It would be great to see one of your cards entered

#195 Monochrome
This is my contribution to the design team.
It is a 5" square, top folding white card base.
I cut a smaller panel to a 4" square and embossed it using the Dotted Matrix folder.  Mounting foam was added to the back and adhered to the card.
A 3" square panel was then cut and embossed using the Delightful Daisies embossing folder, mounting foam added and a pearl heart to the centre of the daisy and adhered to the card.
I am going to make another card but round the corners as I think it would give it a softer look.

INGREDIENTS:
  • white card stock ~ Papermill Direct
  • Dotted Matrix Embossing Folder ~ Sue Wilson/Creative Expressions
  • Delightful Daisies Embossing Folder ~ Spellbinders
  • Platinum Machine ~ Spellbinders
  • pearl heart ~ my stash
All that remains to do now is announce the winner of Saturday's card
Random.org Name Picker has picked
Sunnybec!
Congratulations, your card will be winging its way to you soon
Until tomorrow....
Thank you for taking the time to visit, I hope my designs have given a little inspiration.
I read all your comments and really appreciate you leaving me a message
June x


Friday 1 September 2017

FESTIVE FRIDAY 5

Hello and welcome...
I used a 6" square red card

I also used a new die from a new company (for me) that's  named 'The Art Of Craft. The die was cut and embossed on a  piece of white card.  I cut a piece of double sided adhesive and applied it to the die cut card, on the back.  The backing paper was then removed and I liberally sprinkled Glitter Jewels 'Icicle Sparkles' over the exposed sticky area and burnished them in

The die  also has a circular centre die but I didn't want to remove the centre form this card, instead I die cut a piece of shiny red card with this die,
I then  added a small piece of double sided adhesive onto a piece of white card stock, added the second circular die from my set and die cut it.  It then had the backing paper removed and Glitter Jewels 'Diamond Snow' applied to it.  I glued this to the round red die cut, added mounting foam to the back and adhered it onto the centre of my card

In this month's 'Creative Stamping Magazine, Issue 47' there is a fabulous free sentiment set by Altenew.  I will be showing all what's available in Sunday's post

In this set I used the scroll banner and stamped it onto white card using an Archival Ink Pad in crimson.  I then placed and positioned the sentiment, from the same set, and embossed it using a VersaMark Watermark Stamp Pad, I then covered it with a black twinkle embossing powder and heat set it

I then fussy cut out the stamped banner, edged around it with a Promarker 'Berry Red' Pen

I added small red gems to the centres of the snowflakes and slotted a piece of red florist ribbon through the loop of a metal Christmas stocking and adhered the stocking behind the banner

A dries clear glue was applied to both ends of the banner then adhered to the card

To complete I used another stamp from the set, stamped it onto a lightweight white card using an Adirondack Ink Pad in Slate.  I then coloured the image in using several ProMarker Pens.  I used the same sentiment for the verse and this was stamped with an Archival Ink in Crimson.  The envelope was also stamped, front and back, again using one of the stamps from the set

We hope to see you back here tomorrow for our Saturday Special Give-Away Card

INGREDIENTS:
  • red card and envelope ~ Craft UK
  • white card ~ Papermill Direct
  • die set ~ Amy Design/The Art Of Craft  ADD10109
  • Glitter Jewels, Iced Snow & Icicle Sparkles ~ Creative Expressions
  • Black Twinkle Embossing Powder ~ WOW
  • VersaMark Watermark Stamp Pad ~ Tsukineko
  • Archival Ink Pad 'Crimson' ~ Ranger
  • Adirondack Slate Ink Pad ~ Ranger
  • Christmas stocking ~ Hobby House
  • red gems ~ my stash
  • red florist ribbon ~ my stash
  • double sided adhesive ~ Woodware
  • Berry Red, Poppy, Leaf Green, Pear Green, Soft Green, Grass & Pine ~ ProMarkers/Letraset Limited
You should be able to see some of the lovely sparkle

Card inside

Envelope front

Envelope back


Thank you for taking the time to visit, I hope my designs have given a little inspiration.

 I read all your comments and really appreciate you leaving me a message.                                              
June x

Thursday 31 August 2017

NEW CHALLENGE AT MAWTT ~ #53 ADD A NUMBER

Hello and welcome...
It's Team B's turn again for the new challenge at MAWTT, the theme is 'Add A Number' and my contribution to the design team is a card commission I was asked to make for a very special dad's 80th birthday.... also ideal for our challenge

If you click on the link below it will take you directly to MAWTT and you'll see the fabulous designs from the rest of the team, it would also be wonderful if I saw one of your cards entered too!

53. Add a number

I was told dad liked gardening and the seaside but that I also had 'free reign'

I used elements from The Shadow Box Collection  for the front of the card.  The card is an 8" square ivory card and I created 2 further channels in the middle to enable me to add more pages

I embossed a piece of black card and adhered that to the card base.  The shadow box was die cut and embossed with teal card and for the background I embossed more ivory card with a brick design embossing folder.  I added mounting foam to the shadow box and glued it in place on the card front

Using kraft card I die cut 3 plant pots, 2 leaves and the fork and trowel, but also die cut the last 2 in silver mirri.  I used Promarkers to colour the leaves and the handles on the fork and trowel and glued those pieces onto the silver mirri


In this particular set there is one single flower and I die cut this 3 times in green card, removed the flower head to expose the two leaves then glued them into place behind each planter.  I also die cut the butterfly in silver mirri and added that to one planter


There is also a ladybird in the die set but I used one from my stash as I have a small box full of them

The rose heads are also part of the set and a little of my left-over card was used for the those.  The 80 is from my stash, the sentiment was also stamped on kraft card and I cut the tails with scissors

The side panel is a crinkle light brown paper and I embossed it and added a little distress ink to the leaf pattern
DAD was die cut in silver mirri,  3 times for each letter and glued together prior to adhering to the panel and I added 3 tiny red hearts to each letter


On the inside of the card I added a photograph of the 'birthday  boy' then typed 'Happy 80th Birthday Dad' on cream paper.   At the top of the following page I typed 'Happy Memories' and adhered a photo of their wedding day as well as creating a frame around it, as this was personal I covered the photo which is why you can see a dark shadow behind the page below

Finally, and to complete, I typed a verse onto more cream paper and secured all the pages into place

INGREDIENTS:

  • ivory card stock ~Craft UK
  • black card ~ Creative Expressions (CE)
  • kraft card ~ CE
  • teal card ~ my stash
  • Shadow Box - In The Garden Die Set ~ Sue Wilson/CE  CED9309
  • Art Deco Alphabet - Upper Case ~ CE CED5423
  • wood affect embossing folder ~ Crafter's Companion
  • brick affect embossing folder ~ Cuttlebug
  • leaf embossing folder ~ freebie from Crafter's Companion
  • Berry Red and Dark Brown Felt Tipped Pens ~ Promakers 
  • green card, silver mirri, brown crinkle paper and pink paper ~ my stash
  • red hearts ~ my stash
  • cream paper ~ my stash
My apologies for being missing a few days, all down to health problems, so when this happens again you will know why

I would like to enter the following challenges:
  • Seize The Birthday/Ocean Colours
Thank you for taking the time to visit, I hope my designs have given a little inspiration.
I read all your comments and really appreciate you leaving me a message.
June x

TODAY'S POST

Hello and welcome...

Today's post is scheduled for 9am, hope to see you back then

June x

Monday 28 August 2017

FOR SPECIAL FRIENDS ~ CARD COMMISSION

Hello and welcome...
I am at my 'wit's end' with the formatting of this blog!! lol  I can honestly say it has a mind of its own.  When I type a post, to how I want it to be shown when published, there are many times when I preview it it has changed the format etc etc!  Yesterday's post was the last example, before publishing it the format was showing how I wanted it to.  Hit the publish button and there's a huge void before any photo or text! grrrrrrrr.  OK, that's my gripe over and onto today's card that one of  my sister in laws asked me to make for their friends'  pearl wedding anniversary
This is an 8" square white on white card.  I actually made a very similar card to this several years ago, that time without the addition of a few coloured pearls, and thought it would be good to make a similar one.  I'd forgotten how laborious it was adding each individual pearl to the heart outline, worth it in the long run, in my opinion, but you do tend to get a little 'pearl eyed'.  I spent 4 days adding them and actually it is lovely seeing how it takes shape.  Hubby was very good in collecting all the ones that just shoot off the carrier sheet, you crafters know what I mean, they can be found in all sorts of, shall I say, unusual places! lol

I die cut a heart onto white card then drew the outline of it onto another piece of white card then fussy cut that out.  I then glued to two pieces together.  With a collection of various sized pearls, and a few coloured ones, I added the pearls to the heart.  I also put a dab of adhesive to the area to ensure the pearls would not come off.  I kept putting this to one side to continue with the design of the card.


Using two of the double pierced squares die set I added a piece of double sided adhesive to white card and die cut a border.  I removed the  backing from the adhesive sheet and sprinkled glitter jewels 'iced snow' over it.  I wanted the border to be raised but not by adding mounting foam so another four borders were die cut, glued together and the glittered border added to them

On the heart shape die I had used there were several off-cuts of other heart shapes and I chose three of them, added glitter jewels diamond snow to only  the middle one with mounting foam added to all three.  These, along with the sentiment, were put to one side until I assembled the card


I typed the sentiment onto the same white card and added mounting foam to the back.  This now brings me to the close of the front of the card, you would think it to be two different cards, it isn't, it was all the pure white as shown above, no filter etc etc had been used (I would know how to add a filter!) so it is a tad annoying when the images are not clean and crisp, and most importantly, looking as if they all belong to the same card!
close up of the same card!

For the insert I typed a personal message/verse onto a pale grey marl paper and to add to this, in one of the craft magazines last week, the freebie set was of a wine bottle and glass, so I die cut the glass twice and adhered these to the bottom right of the insert.  I added several tiny pearls for the 'champagne bubbles' then half covered the 'inside' of both glasses with Glossy Accents to give the appearance of liquid


Now with all the pearls added to the heart shape I glued the heart in place and glued the border in place so that I could add the sentiment and the hearts and that was the card completed


It really is a shame you are not seeing it in its true colour as it is rather a pretty card and, most importantly, my sister in law thought it to be lovely


Using Random.org Name Picker it has chosen


Sunnybec

 congratulations!

Please email your postal details to:

and your card will be posted to you

INGREDIENTS:
  • white card ~ Craft UK
  • grey marl paper ~ my stash
  • heart die ~ Crafter's Companion
  • double pierced squares ~ Sue Wilson/Creative Expressions (CE)
  • individual pearls ~ CE and CraftStash
  • double sided adhesive ~ Woodware
  • glitter jewels 'iced snow' ~ CE
  • glossy accents ~ Ranger
  • wine glasses ~ Die-Cutting Essentials Issue 27/freebie gift
  • Platinum Machine ~ Spellbinders


Thank you for taking the time to visit, I hope my designs have given a little inspiration.
I read all your comments and really appreciate you leaving me a message.
June x

Sunday 27 August 2017


Hello and welcome...

We have sunshine today and it reminded me of this card that I'd made when my Distress Oxide Inks first arrived!

The finished card is 6"x8" and I added a black panel and a smaller white panel and on this panel I stamped 3 lillies  with a Versa Mark Watermark Stamp Pad

At the bottom of the panel I then stamped the sentiment using a Versafine Onyx Black Ink Pad.  I covered the sentiment then the flowers with  WOW CLEAR Embossing Powder and heat set.  If you immediately cover your stamped sentiment with a clear embossing powder you are able to colour over it without any colour change to it, then give it a little polish with some paper towel

I used 4 oxide inks on the background then spritzed water over the full panel and this particular time I dried it with my heat tool.  I was then getting a little 'carried away' with the colours, or enjoying myself too much and added yet more colour and spritzed again as well as heat drying it.  I added red line double sided tape to the back of it, adhered to the black then both onto the base card

To complete I randomly added several dots of NuVo Crystal Drops

INGREDIENTS:
  • white card stock ~ Papermill Direct
  • black card stock ~ Creative Expressions
  • distress oxide inks/broken china, fired brick, fossilized amber, worn lipstick ~ Ranger
  • VersaMark Watermark Stamp Pad ~ Tsukineko
  • Versafine Onyx Black Ink Pad ~ Tsukineko
  • clear embossing powder ~ WOW
  • Nuvo Crystal Drops 'Morning Dew' ~ Tonic Studios UK
  • red line tape ~ Woodware
Tomorrow's post will be available at 11am along with the winner of yesterday's card

Thank you for taking the time to visit, I hope my designs have given a little inspiration.
I read all your comments and really appreciate you leaving me a message.
June x

Saturday 26 August 2017

FRIENDS... SATURDAY SPECIAL FREEBIE CARD

Hello and welcome...
We have an 8" square ivory and black card looking for a new home

You may recognise the die from Thursday's card, this time displayed in a vertical position

The die and embossing folder are two of my very favourite items to use, I promise I won't be inundating you with them, unlike the baubles on the last 3 Festive Friday's cards!

I am going to be showing a video on how this was made, I think it will be on YouTube this Monday, I will confirm this later

I've not added a verse so the winner of the card can add their own to suit.  The card would also be suitable to go in one of the deep IKEA's frames and make a lovely present for one of your friends.  When you do receive it you will need to 'fluff up' the butterfly's wings again
 
Just leave me a comment on this post and the winner will be picked on Monday, you have until 9.30am to comment

As usual, we ship international plus it doesn't matter if you have won in the past, the draw is done using Random.org Name/Number Picker

We can't include you, in the draw, if you post as  'anonymous', so please leave some form of identification eg first name, nickname etc


INGREDIENTS:
  • ivory card ~ CraftUK
  • black card ~ Creative Expressions (CE)
  • pearlised ivory card ~ Crafter's Companion
  • Mystical Embrace Die Set ~ Spellbinders
  • butterfly ~ Les Papillions/Spellbinders
  • sentiment ~ CE
  • insert paper ~ Hobby House

Thank you for taking the time to visit, I hope my designs have given a little inspiration.
I read all your comments and really appreciate you leaving me a message.
June x
Code line 7 9 is for loading jQuery library. Remove this line if you’ve already loaded it somewhere else in your blog. Hint: If your blog has an image slider, carousel or something with fading effect running, chances are it is powered by jQuery. If this widget doesn’t work, the first thing you want to do is comment out or remove this line. To use your own button, replace the URL in line 3 with the direct link URL to the image. Make sure to keep the quotes. To reposition the button, replace center in line 4 with the new position as listed below: