Hello and welcome...

I used a 6" square red card
I also used a new die from a new company (for me) that's named 'The Art Of Craft. The die was cut and embossed on a piece of white card. I cut a piece of double sided adhesive and applied it to the die cut card, on the back. The backing paper was then removed and I liberally sprinkled Glitter Jewels 'Icicle Sparkles' over the exposed sticky area and burnished them in
The die also has a circular centre die but I didn't want to remove the centre form this card, instead I die cut a piece of shiny red card with this die,
I then added a small piece of double sided adhesive onto a piece of white card stock, added the second circular die from my set and die cut it. It then had the backing paper removed and Glitter Jewels 'Diamond Snow' applied to it. I glued this to the round red die cut, added mounting foam to the back and adhered it onto the centre of my card
In this month's 'Creative Stamping Magazine, Issue 47' there is a fabulous free sentiment set by Altenew. I will be showing all what's available in Sunday's post
In this set I used the scroll banner and stamped it onto white card using an Archival Ink Pad in crimson. I then placed and positioned the sentiment, from the same set, and embossed it using a VersaMark Watermark Stamp Pad, I then covered it with a black twinkle embossing powder and heat set it
I then fussy cut out the stamped banner, edged around it with a Promarker 'Berry Red' Pen
I added small red gems to the centres of the snowflakes and slotted a piece of red florist ribbon through the loop of a metal Christmas stocking and adhered the stocking behind the banner
A dries clear glue was applied to both ends of the banner then adhered to the card
To complete I used another stamp from the set, stamped it onto a lightweight white card using an Adirondack Ink Pad in Slate. I then coloured the image in using several ProMarker Pens. I used the same sentiment for the verse and this was stamped with an Archival Ink in Crimson. The envelope was also stamped, front and back, again using one of the stamps from the set
We hope to see you back here tomorrow for our Saturday Special Give-Away Card
INGREDIENTS:
- red card and envelope ~ Craft UK
- white card ~ Papermill Direct
- die set ~ Amy Design/The Art Of Craft ADD10109
- Glitter Jewels, Iced Snow & Icicle Sparkles ~ Creative Expressions
- Black Twinkle Embossing Powder ~ WOW
- VersaMark Watermark Stamp Pad ~ Tsukineko
- Archival Ink Pad 'Crimson' ~ Ranger
- Adirondack Slate Ink Pad ~ Ranger
- Christmas stocking ~ Hobby House
- red gems ~ my stash
- red florist ribbon ~ my stash
- double sided adhesive ~ Woodware
- Berry Red, Poppy, Leaf Green, Pear Green, Soft Green, Grass & Pine ~ ProMarkers/Letraset Limited
 |
| You should be able to see some of the lovely sparkle |
 |
| Card inside |
 |
| Envelope front |
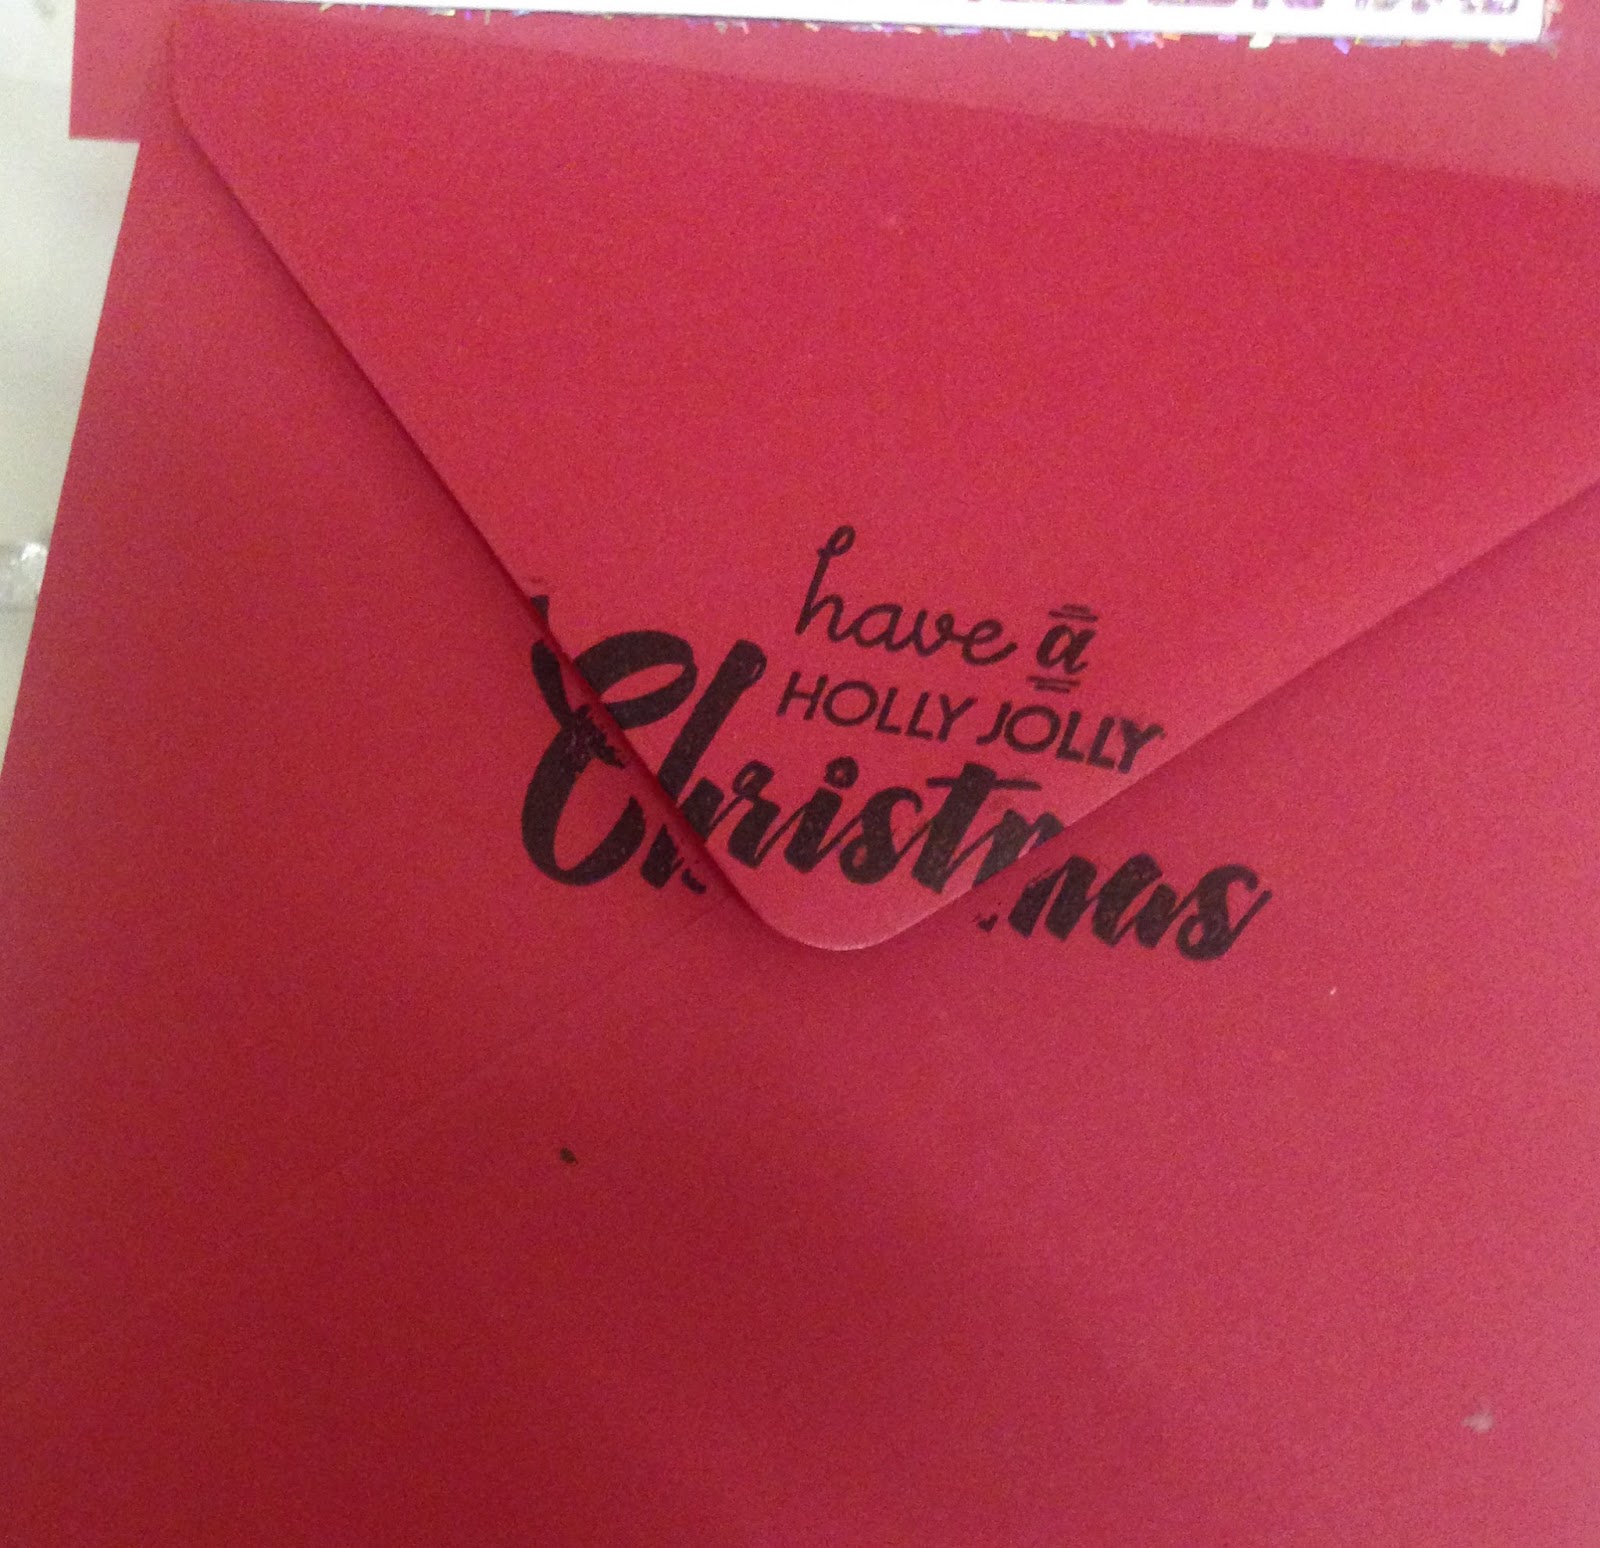 |
| Envelope back |
Thank you for taking the time to visit, I hope my designs have given a little inspiration.
I read all your comments and really appreciate you leaving me a message.
June x


